INVENTOR
The Inventor app is an app that lets you create any shape you desire. With this app any shape you are trying to construct can be built with ease. There is a wide variety of different tools that can be used in order to proceed with the specifics of your shape. Using sketches before creating your object will probably help as well. These sketches show exact measurements and what your shape will look like. With this app you can get a good feel of what your shape is going to look like with the extrude tool. With this tool you can see exact dimensions and the real 3D look of your object.
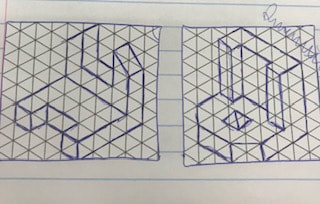
SketchesWidgets 5 and 6
|
SketchesWidgets 1 through 4
|
My Step by Step "Recipe"
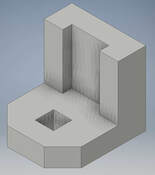
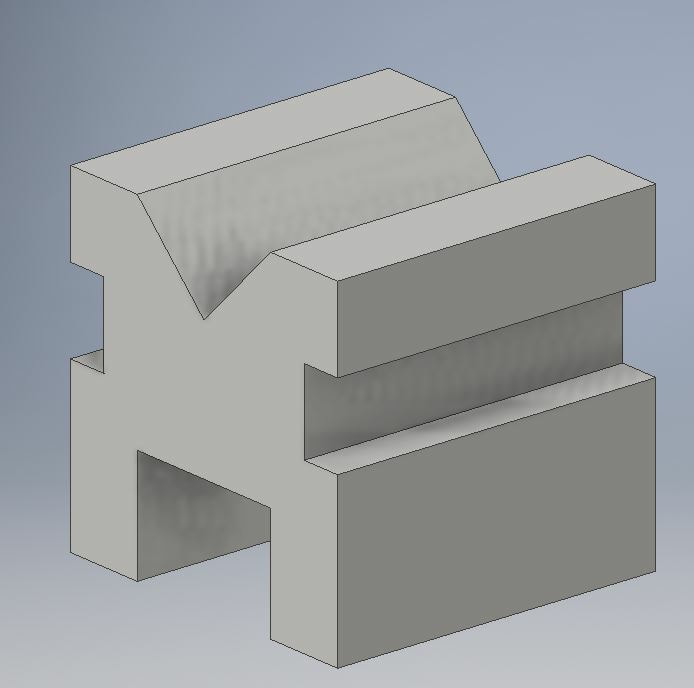
Step 1- Create a 1in by 1in block and extrude .25 inches.

Step 2- Extrude inwards .125in with a box the size of .75in by .5in.
Step 3- At the bottom of the object extrude out .75in. Make sure that it is .25in in height.
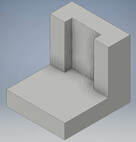
Step 4- Extrude inwards in the middle of the base block. The extrusion will be .25in by .25in. It will be .25 inches from the front and .375 inches from the sides.
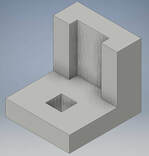
Step 5/final step- Cut off the corners. To do this measure in .25in from the corner and cut at a 45 degree angle across. Now do the same on the other side.
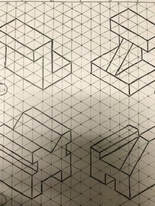
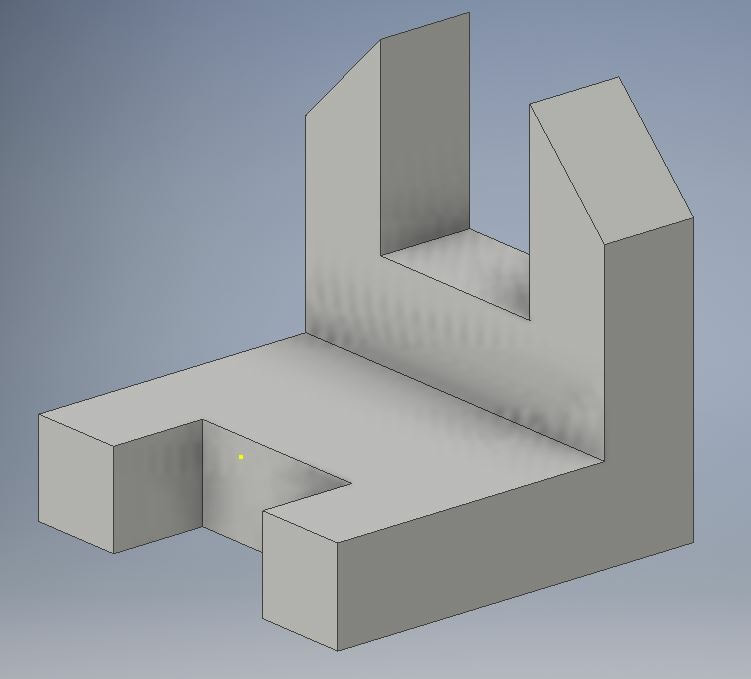
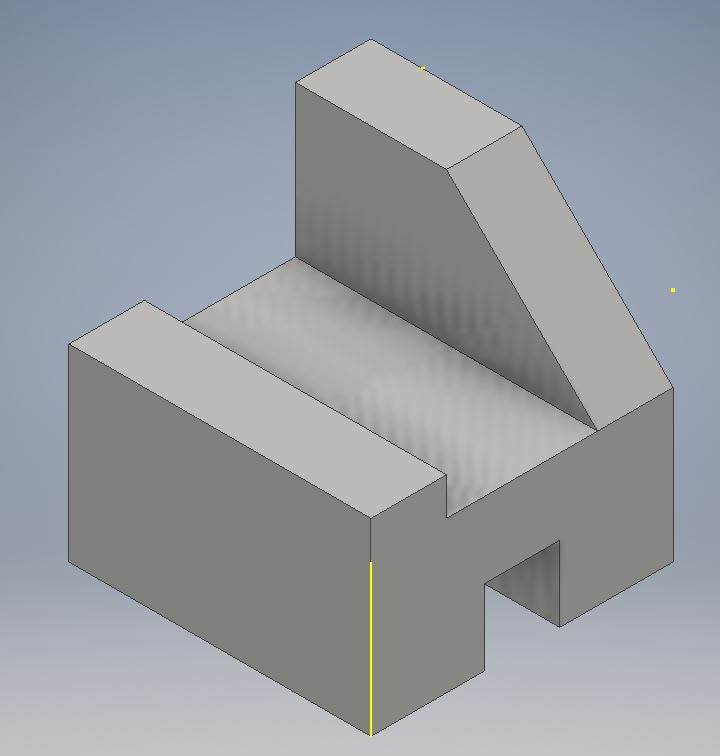
The other Widgets-Widgets 5-1 in order
|
|
|
|
|
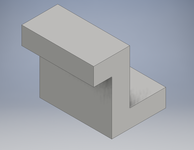
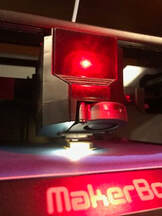
This was my set up in Maker Bot
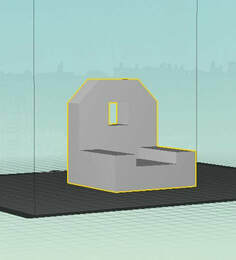
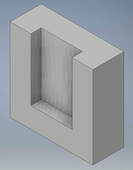
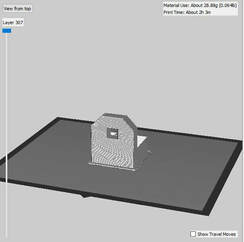
This was my final Preview of my widget
This is my widget half way done printing
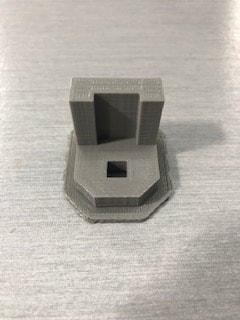
This is my final project/complete widget
Final Summary
With the inventor app I have learned how to proficiently 3D print anything. I have heard of 3D printing before but I have never learned how to use it. This whole process was fairly new to me but I was able to do a good job with my object that I wanted to create. The Inventor app made making these objects fairly easy with a great amount of different tools and helpful hints to guide you along the way. Once my object was created I was able to download it onto maker bot where it could then be transported to the actual 3D printer and be printed.
